Fettuccine Alfredo. It's one of those original comfort dishes, with its rich, creamy, peppery sauce atop those wide, tender noodles. And then add some blackened chicken and sauteed vegetables, and well, you've got yourself a dish fit for a king! In this edition, I'll be giving instructions for how to make this deliciously satisfying dish.
Step 1: Preparation!
Since I didn't thaw the chicken pieces beforehand, I just let them simmer on low heat with a splash of olive oil on each until they defrosted. The lid helps to contain the steam for more even defrosting; the window is a nice feature of the one I've got, but not totally necessary of course.Salt some water and get it started on its way to boiling.
Once the chicken pieces are thawed, start seasoning them. For this, I used LOTS of black pepper, some cayenne, garlic powder, and celery salt. This is just the beginning though, it still has quite a ways left to go on cooking and seasoning.
Now our chickens are fully thawed, and beginning to cook on the outside. At this point, we've got a lot of excess liquid from the steam and whatnot.
Set aside the chicken on the lid for now, then drain the excess liquid. Don't worry about the drippings though; those'll add flavor for later on.
Step 2: Cooking, Actually.
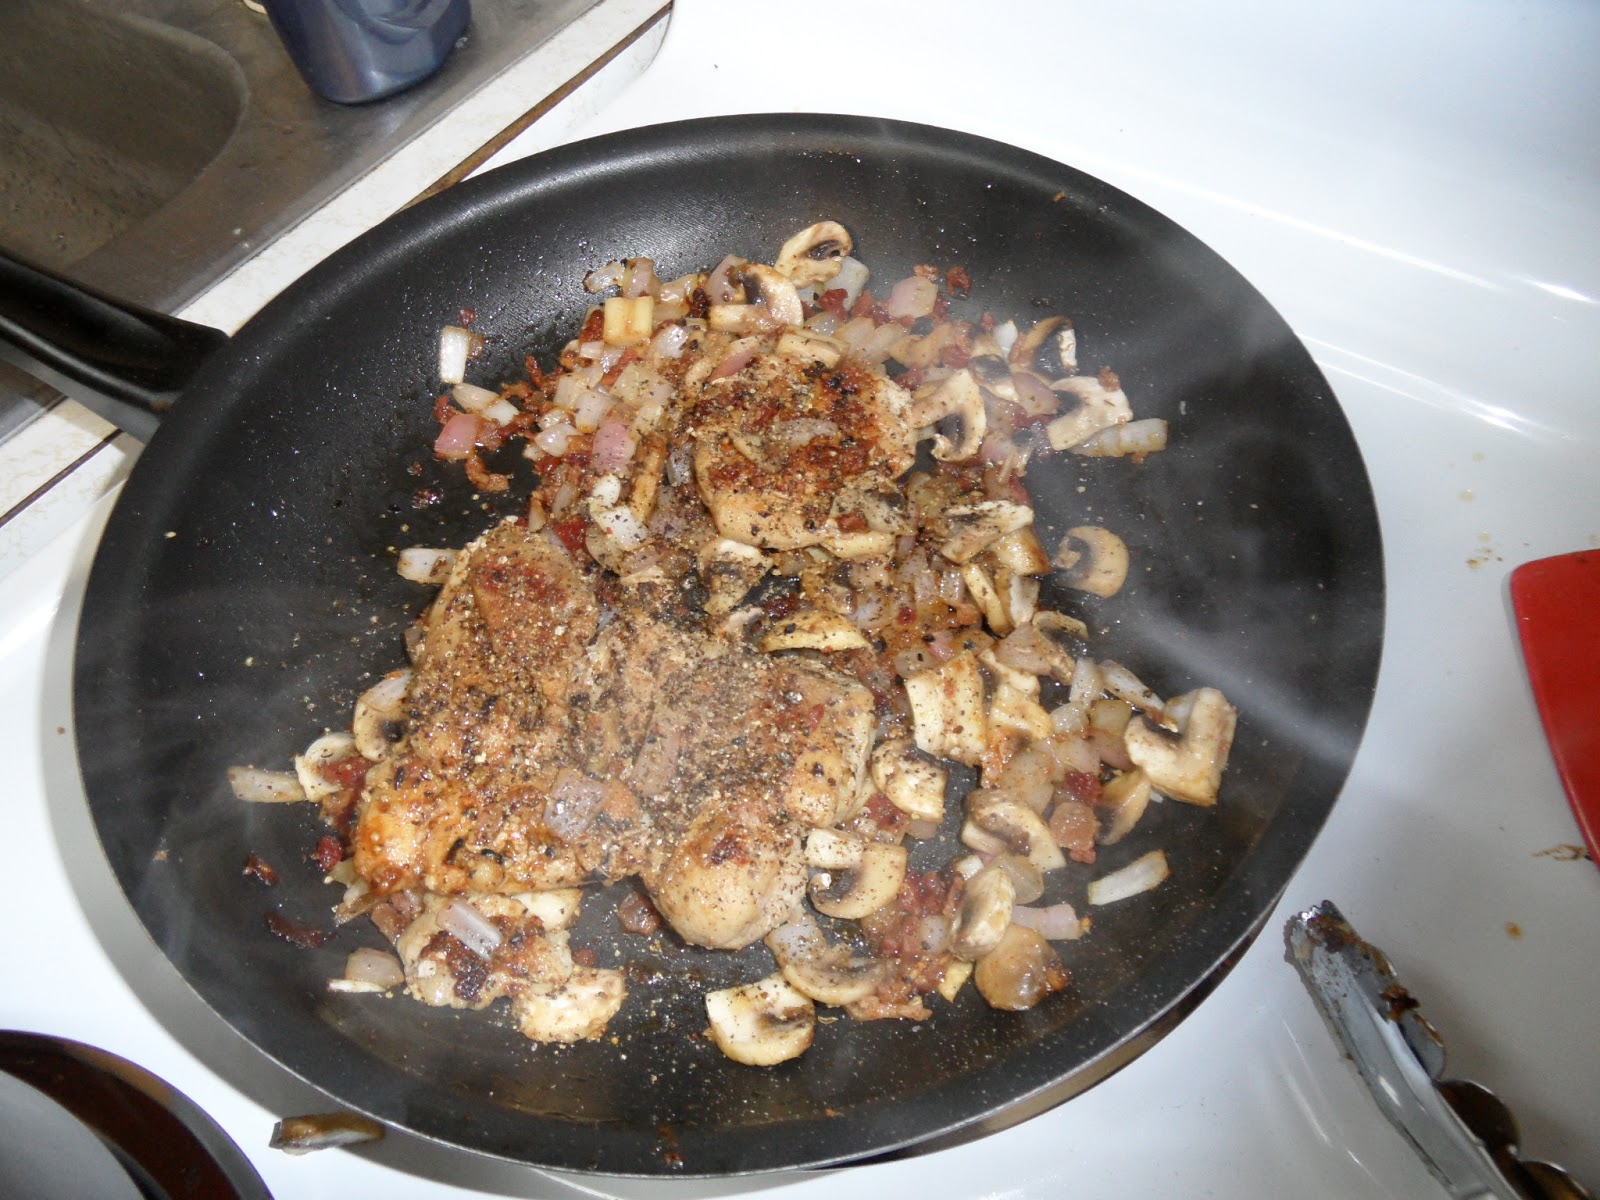
So now that the chicken is ready to actually be cooked, let's look at the additions. I got these ready while waiting for the water to boil, and the chicken to be workable. Here we've got some mushrooms, 1/4 onion, and some crumbled bacon (I usually use fresh bacon, but if you don't go through packs of bacon quickly enough to warrant buying them all the time, Kroger sells a bag of real bacon crumbles that work great in recipes (there are other brands too; just make sure it's the REAL bacon crumbles, and not artificial bacon bits. Those would suck for a use like this). That's what I use here, and the bits themselves are just as good as freshly made in the final dish. However, there's an alternate instruction for the sauce that I'll touch upon later that requires real bacon).Put a bit of olive oil in the skillet, and then...
Fry ALL THE THINGS!
Keep seasoning the chicken as it cooks; some of the seasoning will come off in the skillet, and it's fine for adding flavor to the veggies, but you'll want the chicken to have a nice crust on it. Remember to flip the chicken and stir the vegetables occasionally.
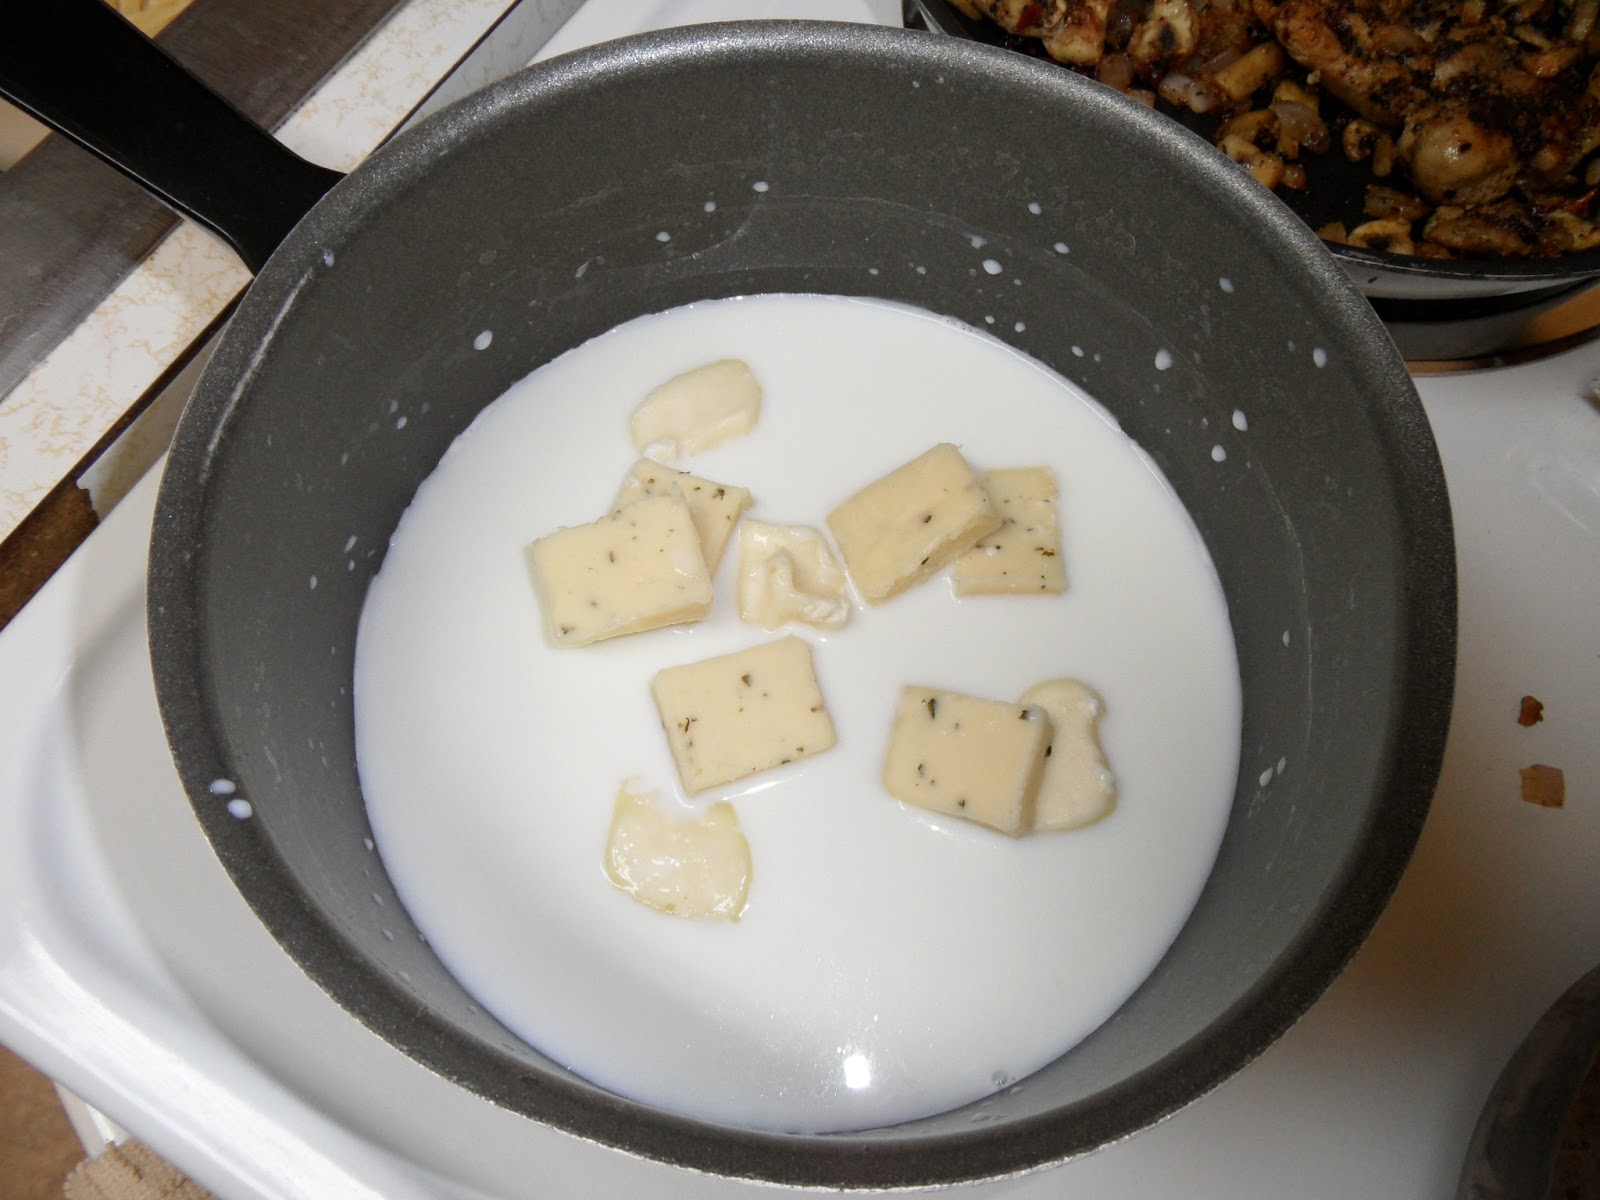
For the sauce, I'll be using Havarti, since it melts nice and smoothly into anything, without getting stringy or sticking to everything like so many other cheeses. Also in place of the butter that usually goes into the sauce, I'll be using a piece of Brie, since it melts down similarly to butter, but adds more flavor. Just be sure to slice the otherwise perfectly tasty rind off of the Brie before using it; if you don't it'll throw off the taste of the sauce in a big way.
When the noodles are done, just drain them and run some cold water over to "shock" them and stop the cooking process.
Step 3: Let's get saucy...
This is the "lazy" method for making the sauce. I'll detail the "advanced" version at the end (the one which requires the real bacon, remember?) Start by melting the cheese in some milk until it's nice and together.While the sauce is melting together, the chicken should be nice and done now. See that beautiful crust? Slice the chicken, and don't forget to take a few "test bites" of the deliciousness you've just created. :)
As the cheese nears the melting point, whisk in just a bit of flour to thicken the sauce. Make sure to get the flour mixed in quickly and thoroughly, otherwise it'll clump up and may throw off the texture of the sauce toward lumpy instead of creamy. This also may happen if you delay the whisking to take photos of the process. ^^;
Eventually, the sauce should look something like this. (the herbal bits are simply from the Havarti I used; don't worry, I didn't add anything there and forget to put in the step)
Step 4: By your powers combined!
Now we're ready to put it all together. Throw the noodles, vegetables, and chicken into the sauce, and stir until everything's well coated.Step 5: Enjoy!
'Nuff said. |
| The finished product. Yours will probably look better than this. |
Addendum: the aforementioned "advanced" sauce method!
I must apologize for the lack of photos of this process; I'll likely do another I Can Cooking! later on in which I'll actually show this method, but for now, text will have to suffice.So as mentioned above, this method is for when you have actual bacon on-hand, and yields a more consistent quality of sauce. I refer to it as the "advanced" method, but it actually makes things easier despite the added steps (you'll see why).
So the first difference, instead of cooking the bacon with the chicken, we'll be frying up about 3 strips in the saucepan right after we've drained the noodles. Once the bacon is done, pull the strips to the cutting board to be broken down, then add the flour directly into the bacon grease in the saucepan , whisking it together into a roux. This allows you to integrate the flour without any fear of clumping. Once the roux is formed, just add the milk and cheese and cook down until it all melts, then mix in the other ingredients as before.


No comments:
Post a Comment